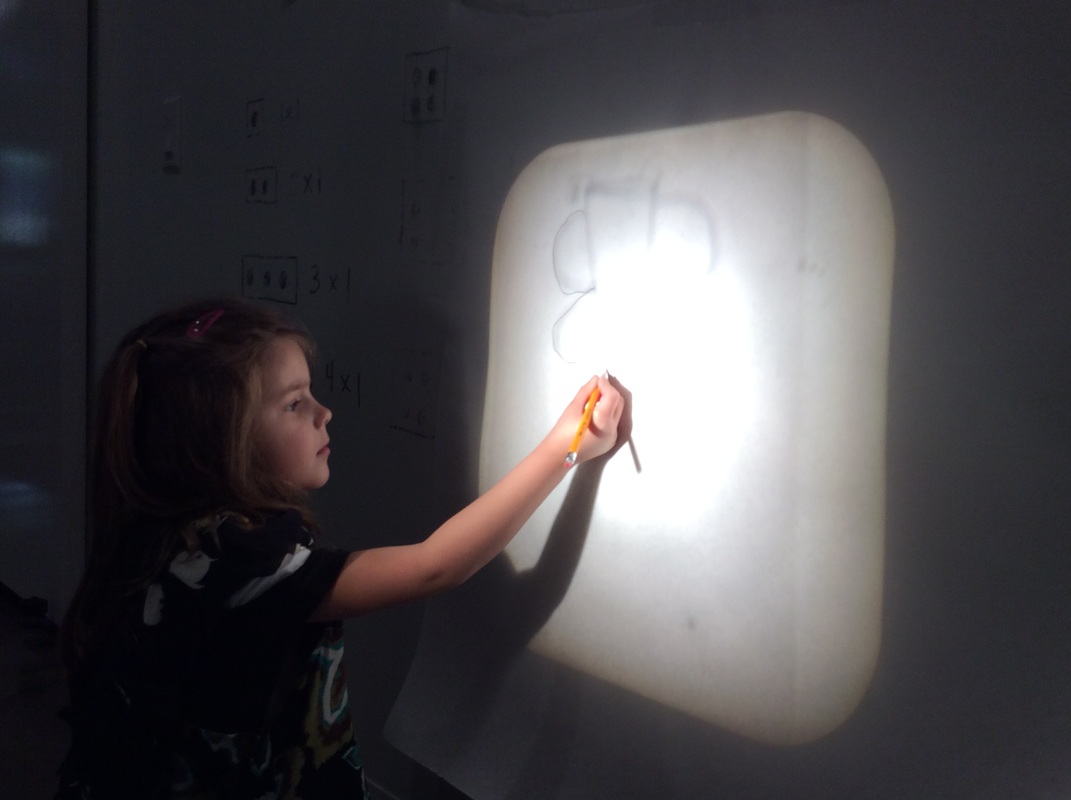
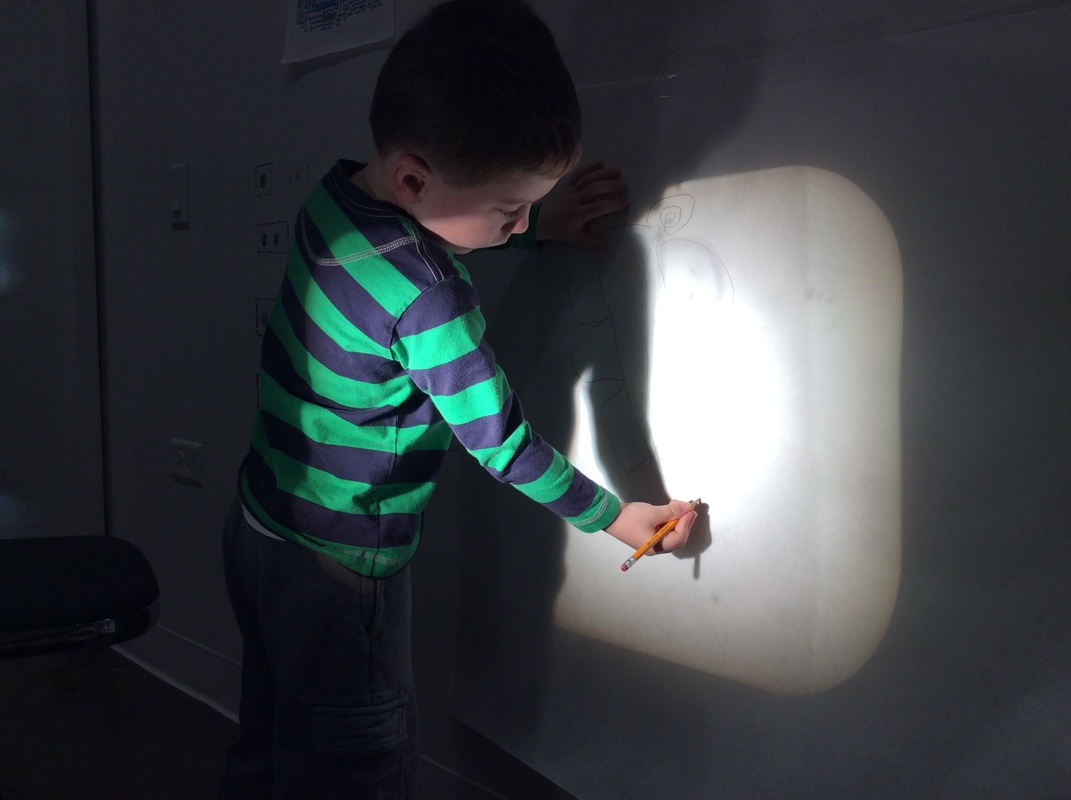
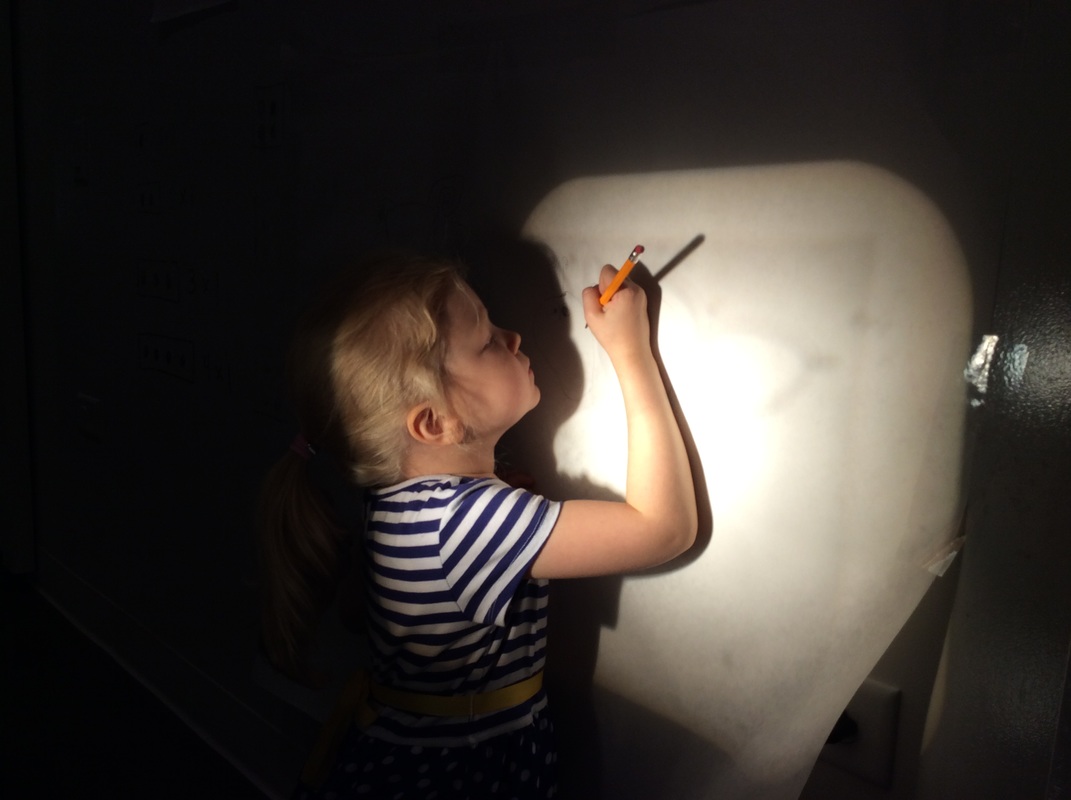
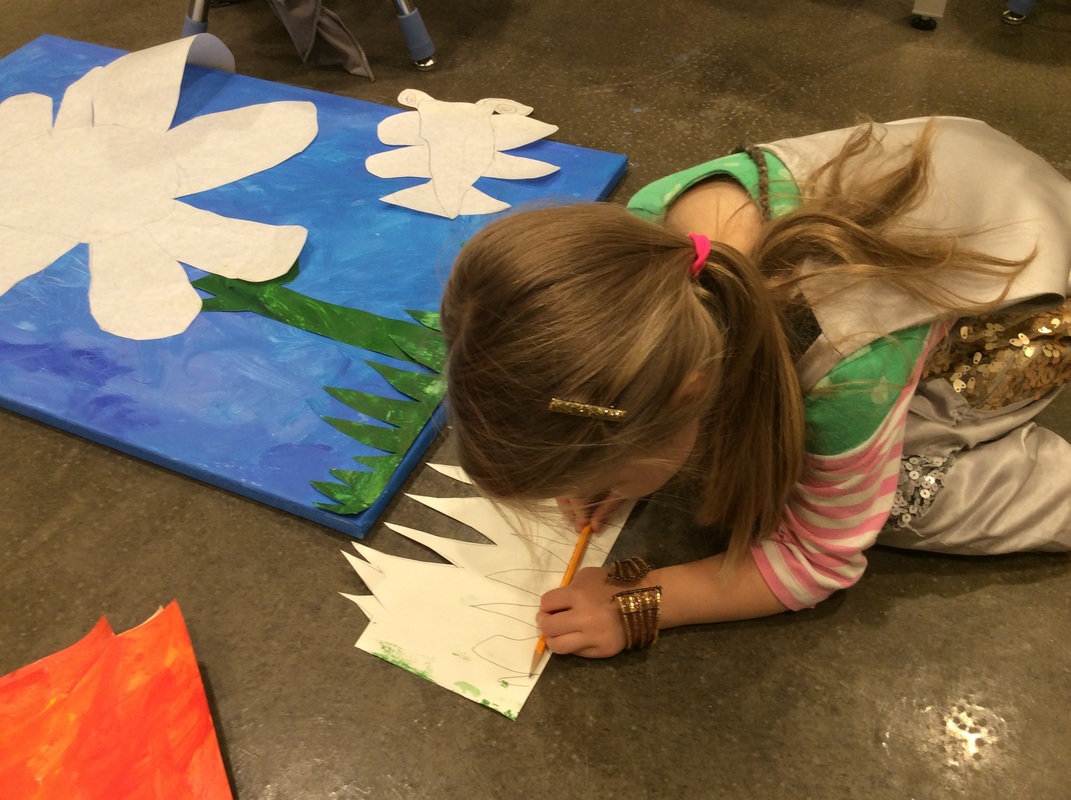
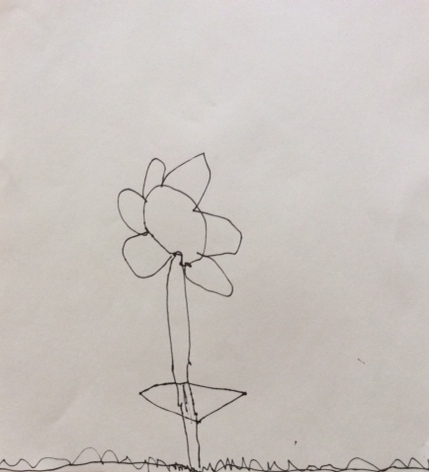
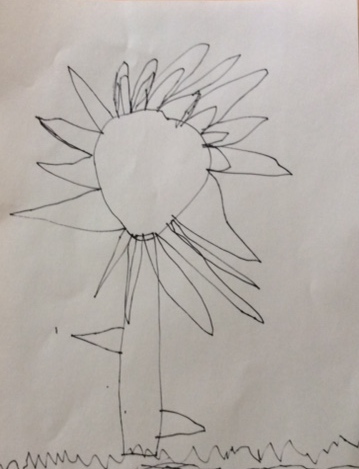
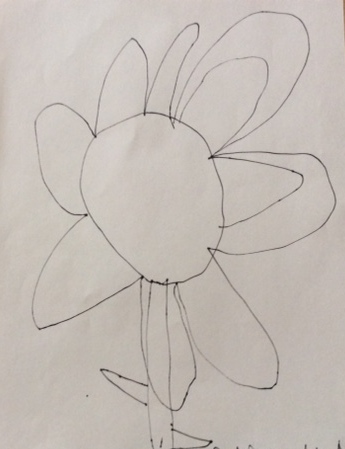
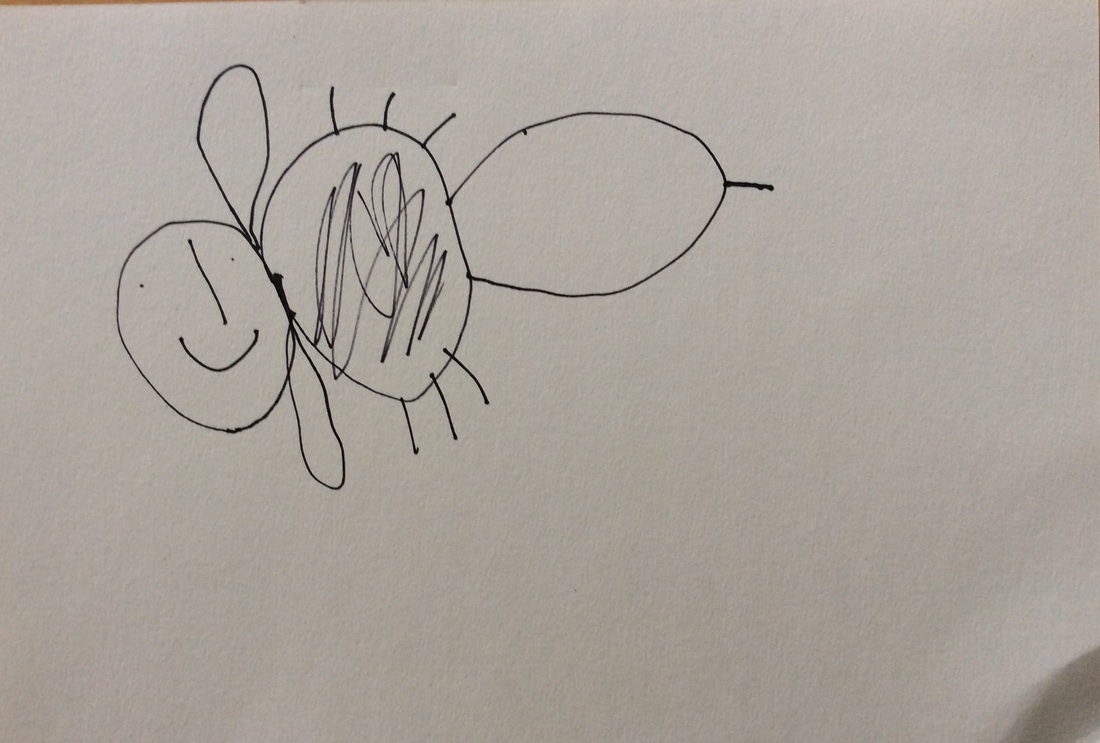
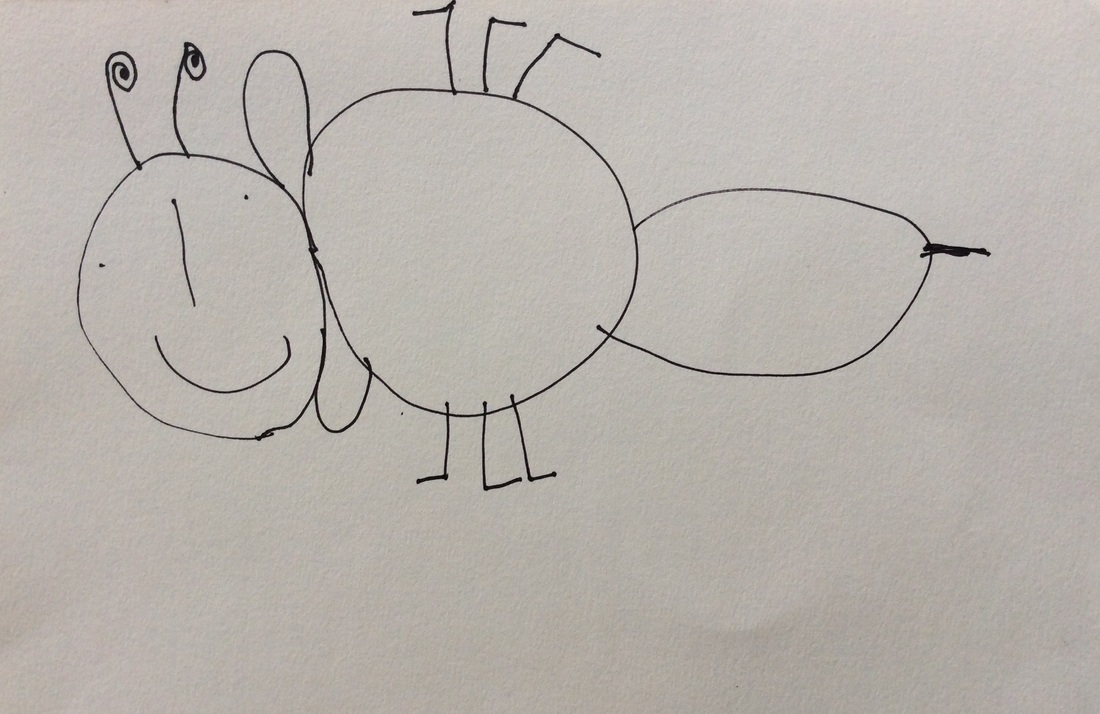
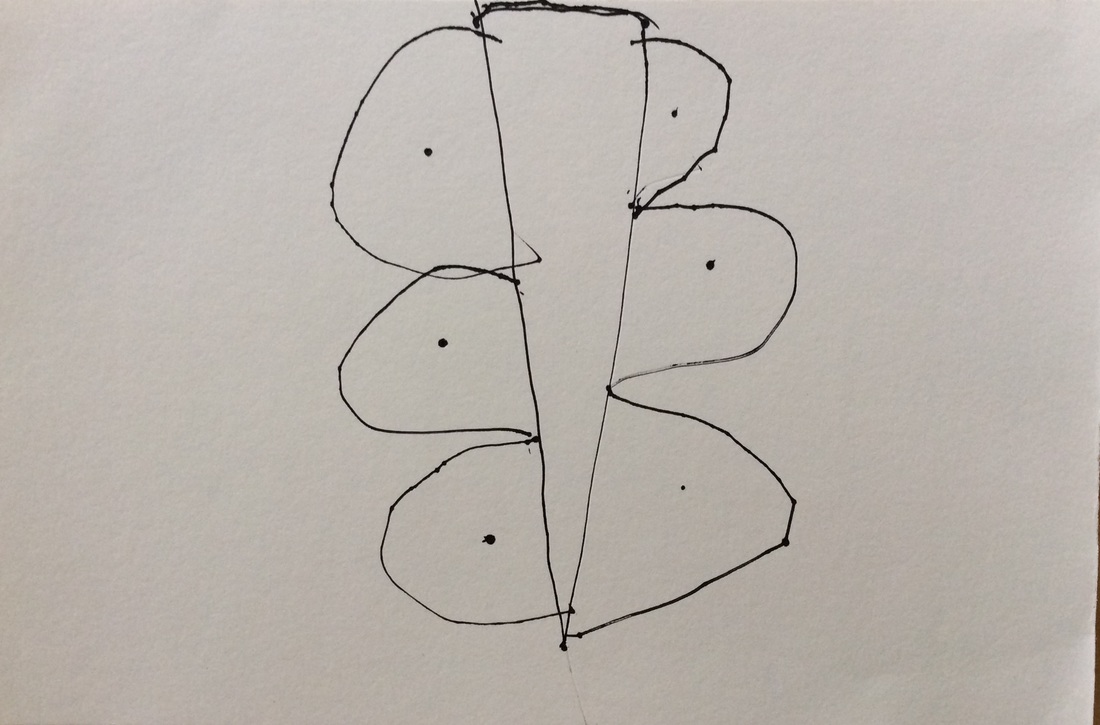
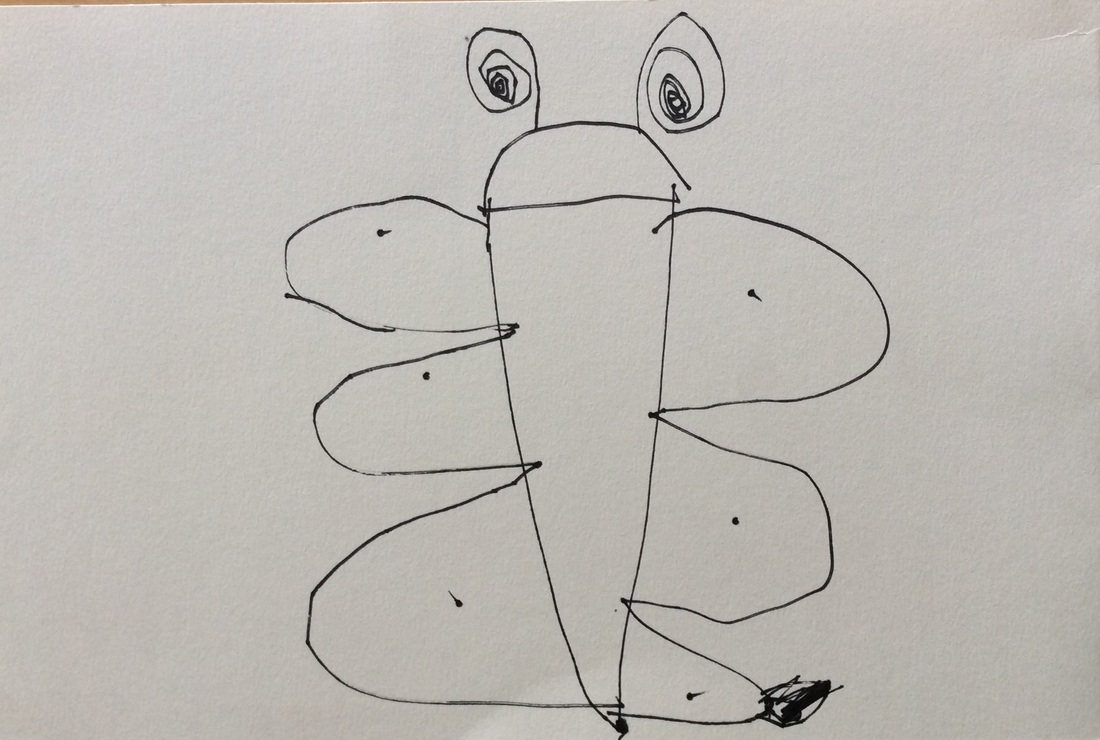
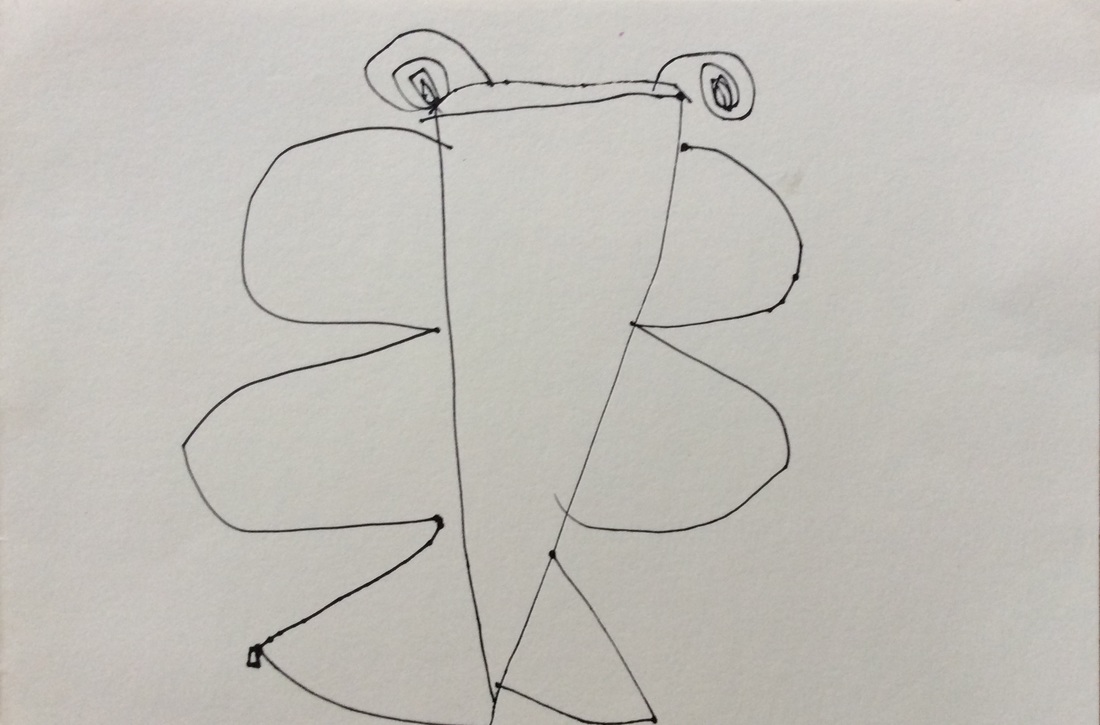
After preparing the paper using Eric Carle's painting techniques and with the design templates completed for our flower, bee, and butterfly, we were ready to begin the process of transferring these drawings to our painted paper, and then onto the canvas. The PK drawings were copied onto a transparency to be used with an overhead projector. Through this process the images were enlarged and projected onto a large piece of tracing paper. The children worked to trace these images. Natural problem solving occurred as they quickly moved and adjusted their bodies to adjust for the shadow. This process provided both fine and gross motor challenges as students worked to combine whole arm movements with controlled fine motor tracing.

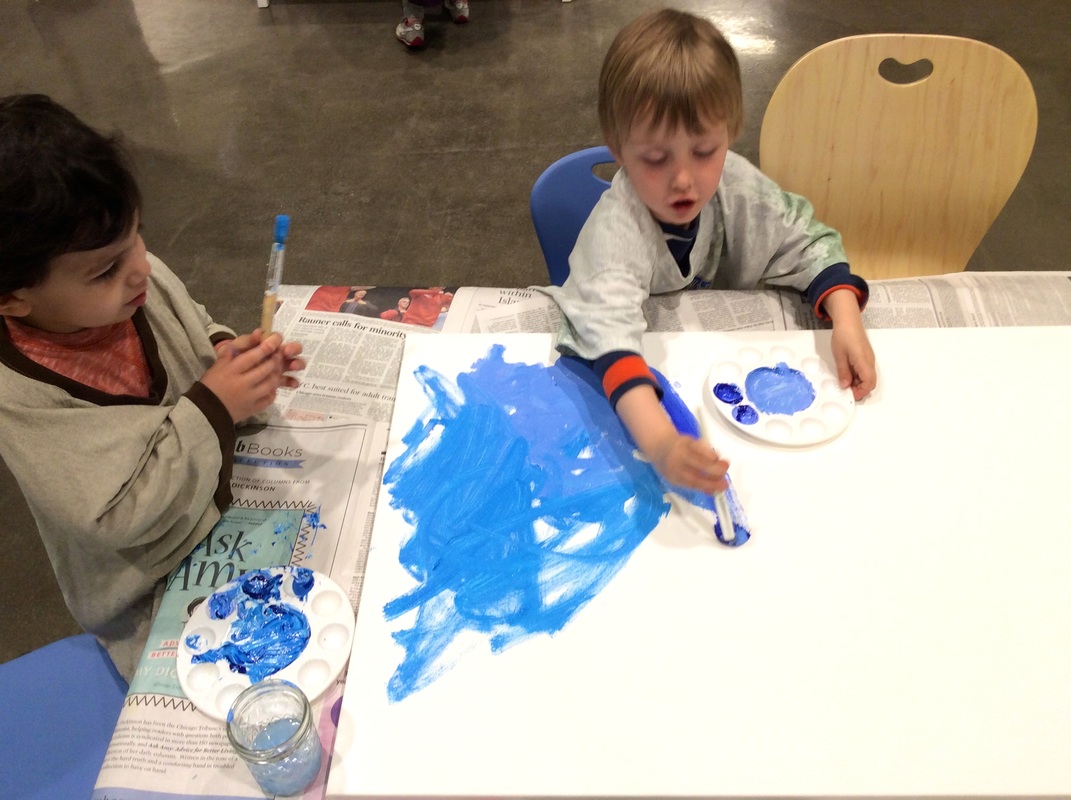
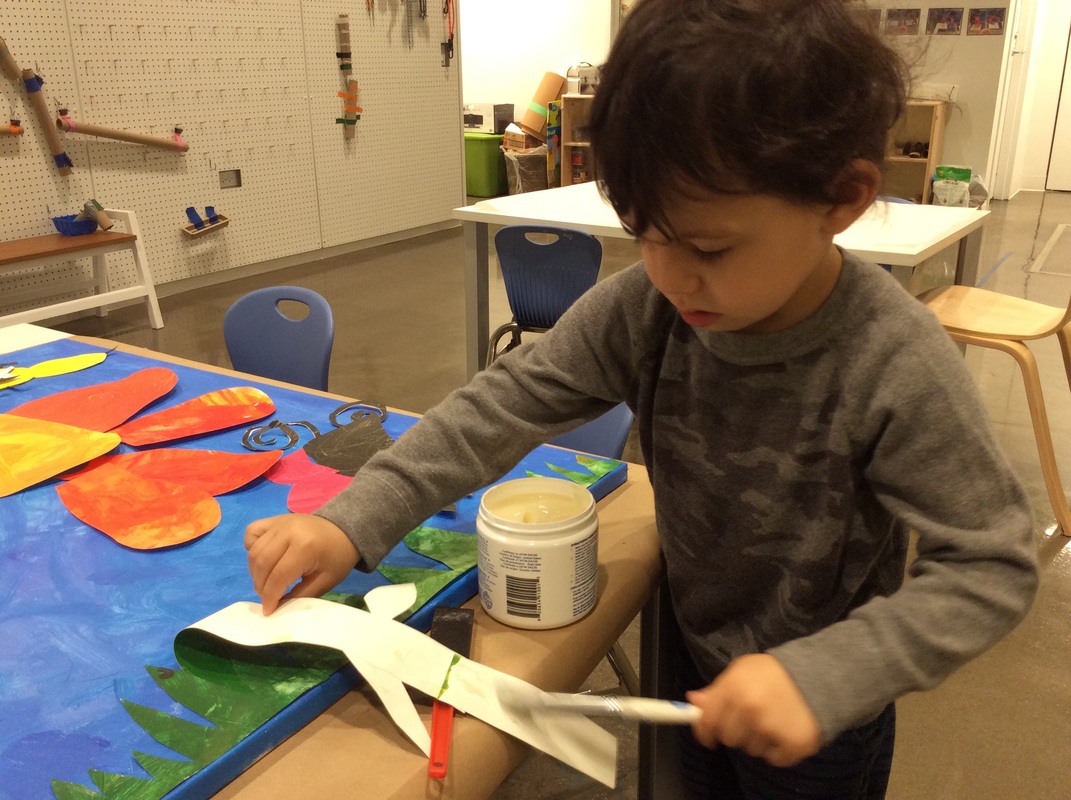
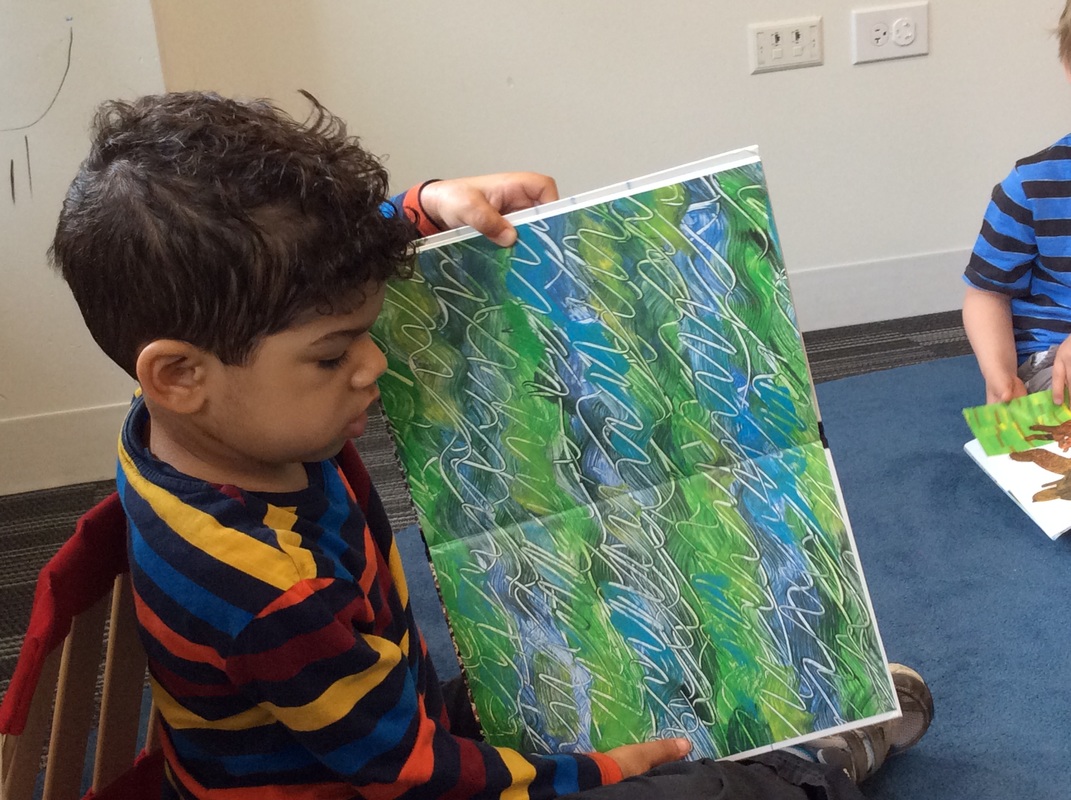
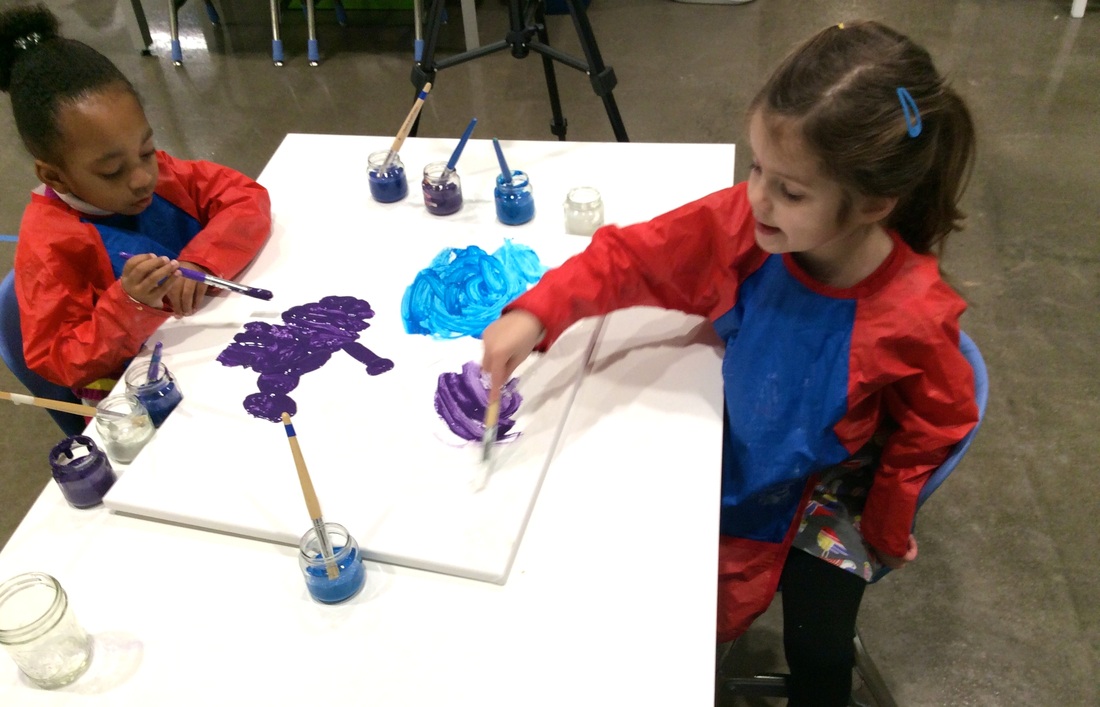
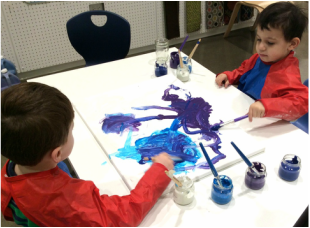
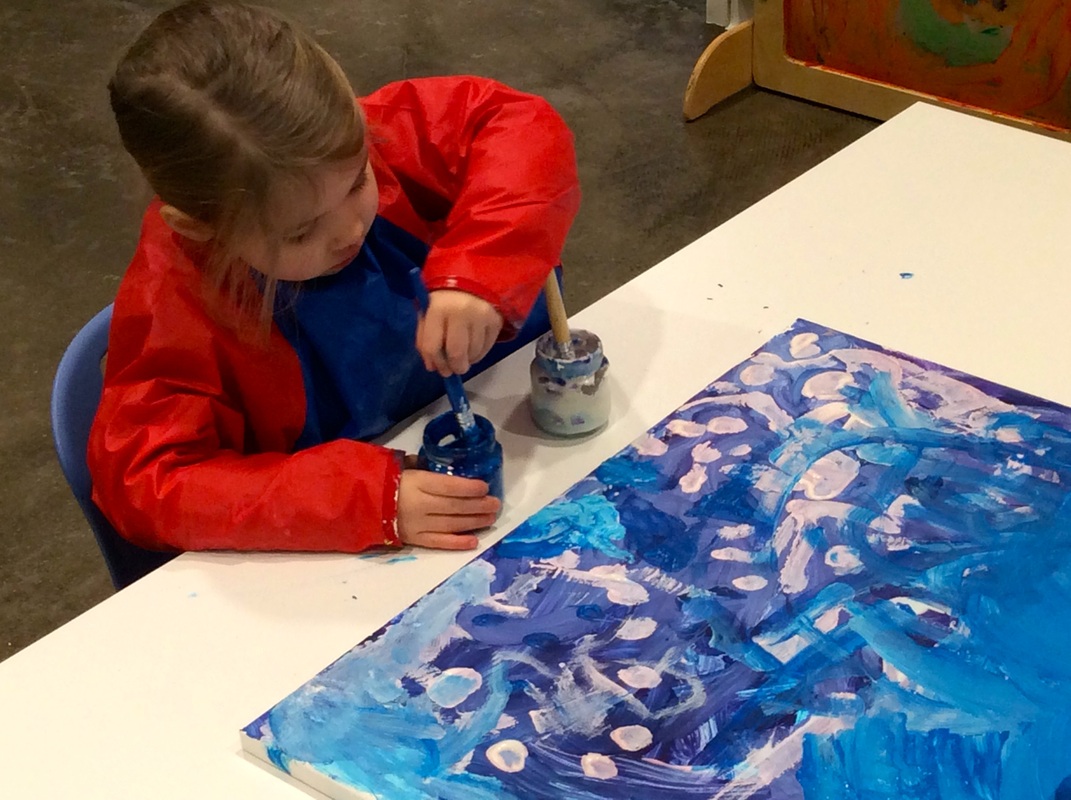
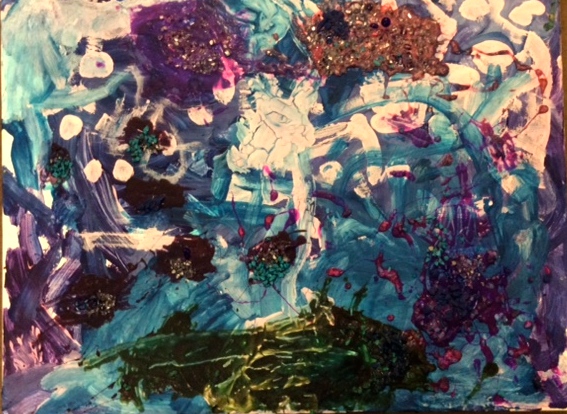
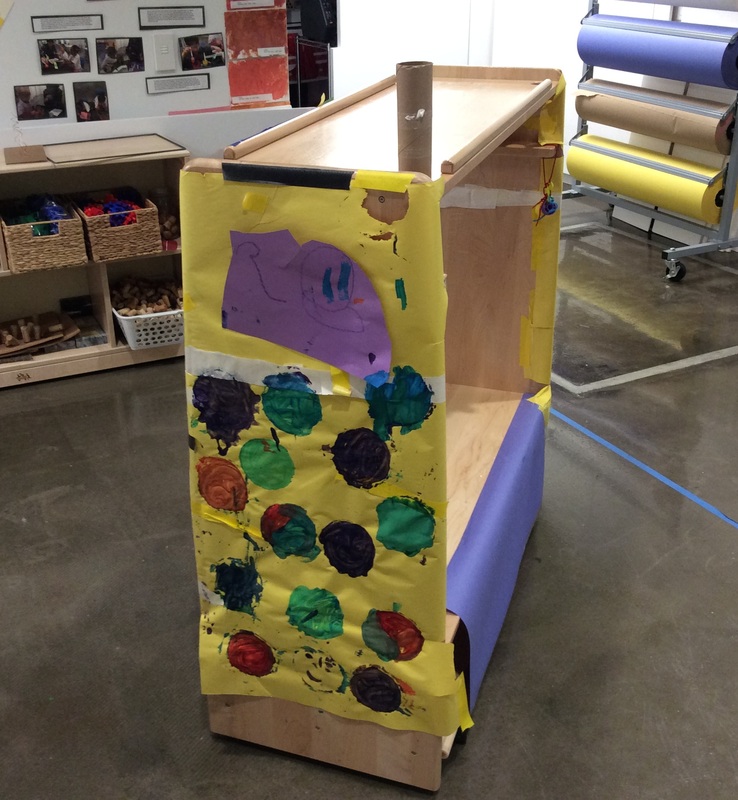
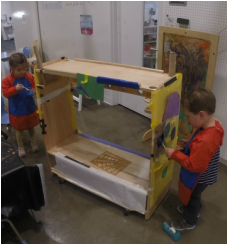
During a group discussion, the children agreed that the canvas should be painted blue, as to represent the sky. Students mixed and blended various shades of blue acrylic paint and coated the canvas with large brush strokes. A few mixed in swirls of white and also used the opposite end of the paint brush to make swirls and scratches in the sky.

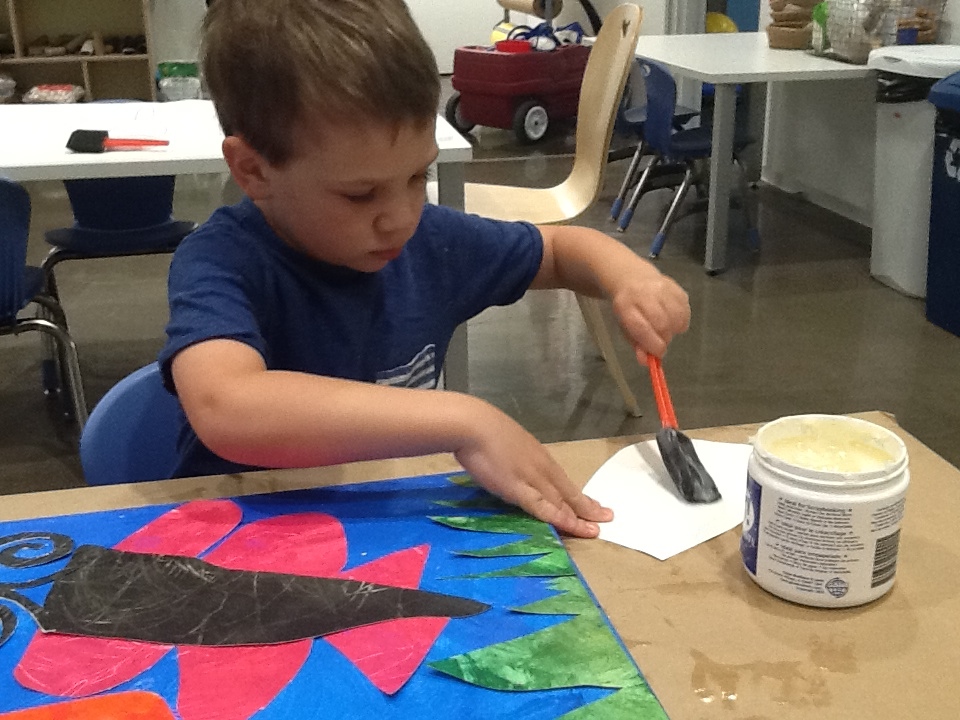
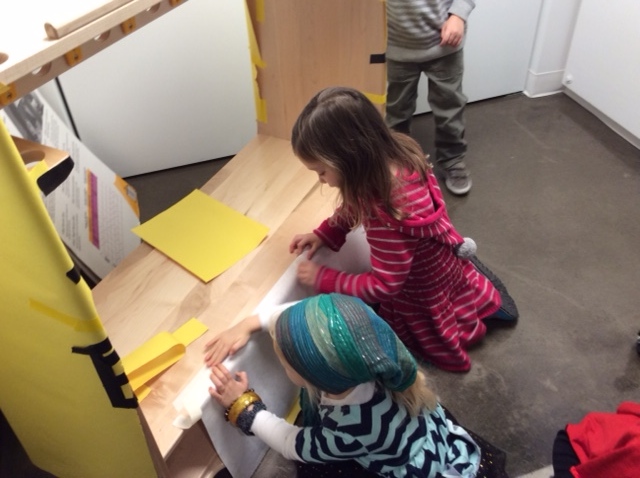
With teacher support, the large traced flower and insects were traced onto the painted sheets of paper.
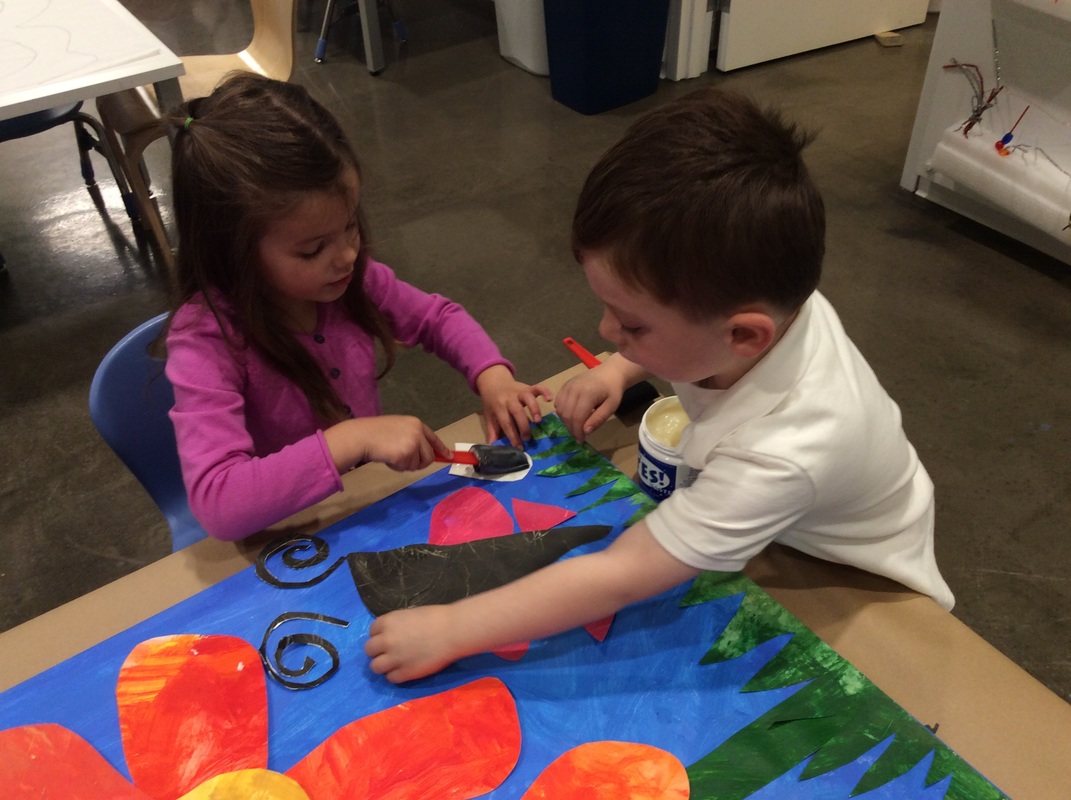
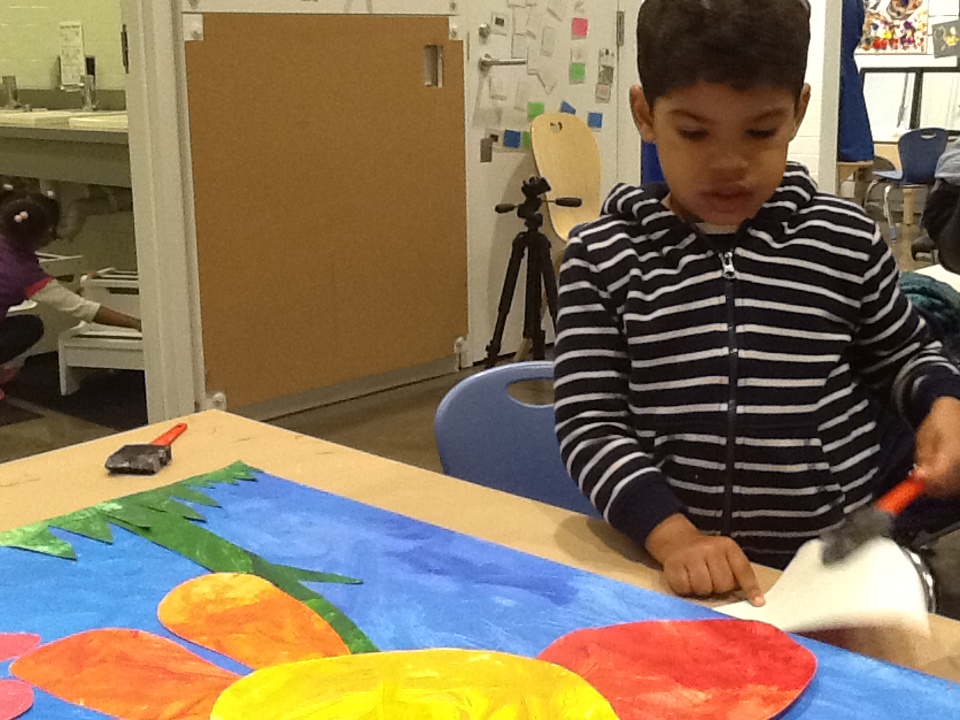
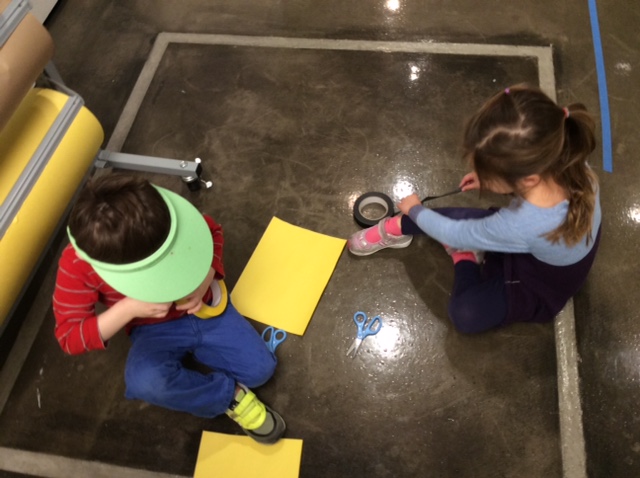
After being cut out, the children worked to assemble the collage, laying out each petal and pasting the pieces onto the canvas as if they were completing a puzzle.
After being cut out, the children worked to assemble the collage, laying out each petal and pasting the pieces onto the canvas as if they were completing a puzzle.
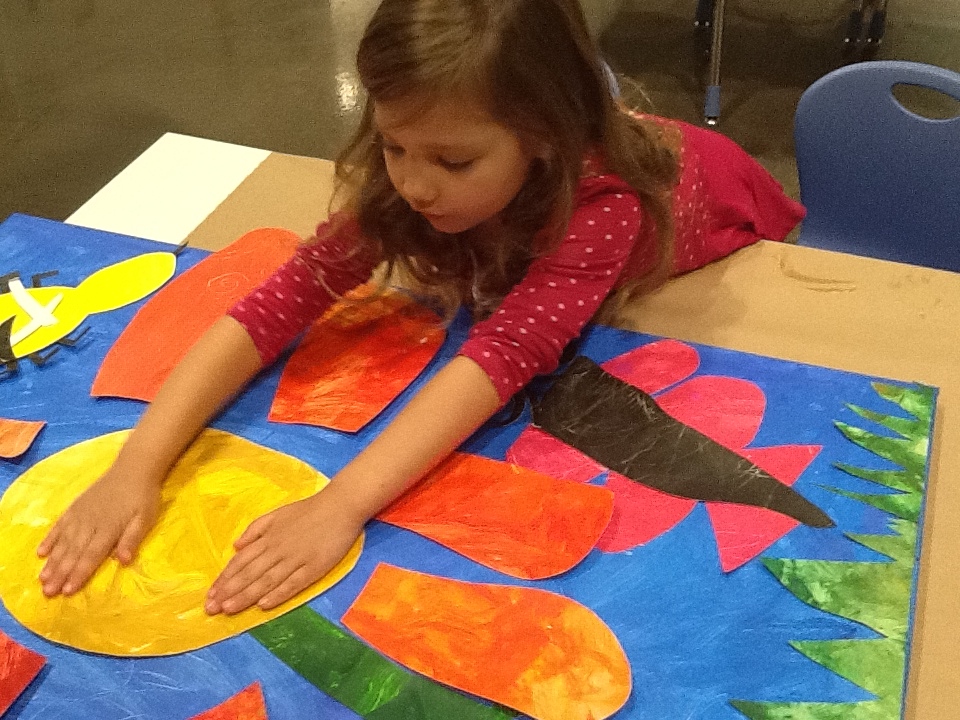
This project took over three weeks from beginning to end. As it evolved, and the impact of each step became clearer to the children, their excitement and pride in their work increased. To imagine a flower was not only a journey of collaboration but also an exercise in creating a communal piece of art that required planning, revising, consulting, and cooperating.
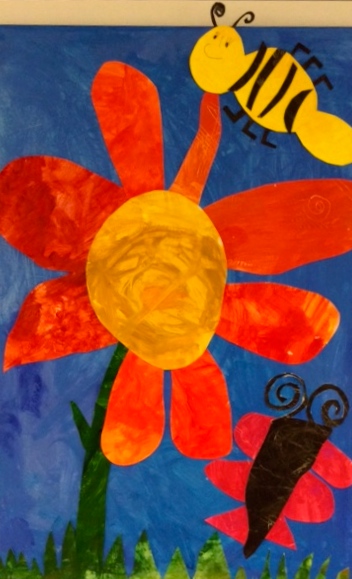
This collage will be a lasting piece of art at the Fulton campus from the PK class of 2014-15.


 RSS Feed